Think again!

These babies were made using completely cruelty free ingredients!

And we know they're not perfect, they're all a little oddly shaped. But they are all delicious!
This is what happened when I pulled one apart:
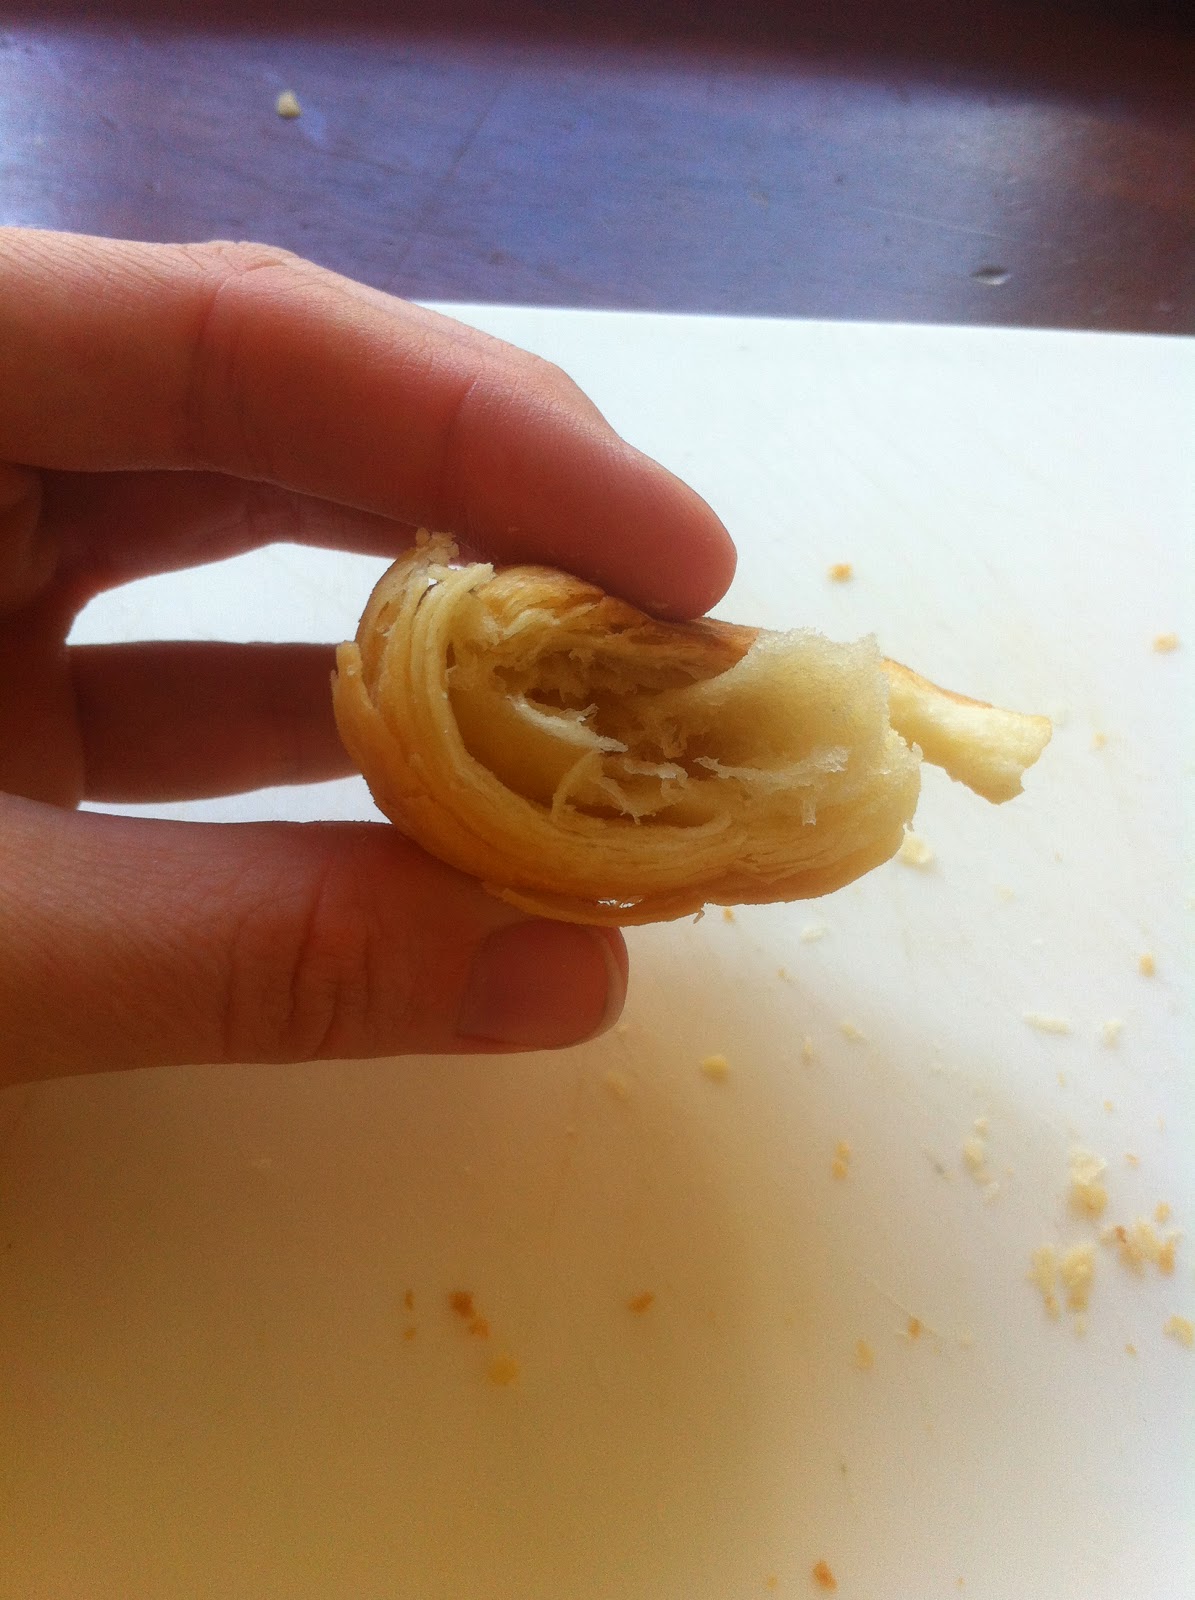 |
| Flaky deliciousness! |
Of course I quickly smothered it in more Nuttelex and devoured it.
Enough drooling over the pictures! Let's get baking!!!!
Ingredients:
Butter:
60g Shortening (I used Crisco, but you can use any form of vegetable shortening)
100g Vegan margarine - preferably with a high fat content (I used Nuttelex Original)
Dough:
20g Shortening
30g Vegan margarine
275g Plain flour
12g Sugar
6g Salt
5g Dried yeast
100g Water (cold)
50g Rice/Soy milk (cold)
Glaze:
50g Sugar
50-100ml Water
Method:
- Mix all dough ingredients together in a Kitchen Aid (or similar) until dough is elastic. Add more water (cold), or flour as needed.
- Transfer dough to a floured bowl, sprinkle flour over the top, cover in cling wrap and refrigerate for an hour-ish (I'm a very impatient person, so you can refrigerate for less or more time, more preferably)

- Melt the shortening, mix through the margarine until completely combined and smooth. Refrigerate.
- Remove dough from fridge and roll out into a rectangle.


- Remove butter from fridge once semi-set and lay down cling wrap on bench.
- Place the butter on the cling wrap, and mould into a flat square around half the size of the rectangle dough.
- Cover butter square in cling wrap, and replace in fridge until cold.
- Once cold, unwrap the square of butter, and place on one half of the dough.

I actually broke up the pieces of butter and spread them out more evenly on the half after this - Fold the other half of dough over the buttered side and leave to acclimatise to each other. (around 10 mins)

- Once acclimatised, grab a rolling pin and roll out the rectangle (forward and back - not sideways to create a long rectangle) until about 2-3cm thick. NB Please be gentle in this section! You do NOT want the butter coming through the dough! If you do, get a pinch of flour and sprinkle over before continuing to roll, and do not roll much further.

- After rolling out, take one side of the rectangle, and fold it 1/3 of the way over the middle, then fold the other side over the top - These are the beginnings of the beautiful layers!

- Rotate the folded dough around until a folded side is facing you. It should look a bit like an S shape facing your body.
- Roll out again, forward and back, until the dough is around 2-3cm thick. If the butter starts coming through please be careful, and sprinkle some flour over the top.
- Repeat 11 again.
- Place on a chopping board and cover in cling wrap, refrigerate for around 10 mins.
- Take out of the refrigerator and place on the bench so that the folds are facing you again to repeat the rolling process again. Re-fold, place the folds to you, and re-roll.
- Once the dough is flat and long, make sure it is as squared as can be, then grab a knife and cut a diagonal line from the left corner to about 10cm from the bottom left corner \

- Continue cutting along from left to right, leaving around a 10cm gap between cuts.
- Using the second cut from the left as the starting point, slice down to the bottom left corner, to create 2 triangles. Follow along the dough in the same way. NB Sharp knives are the best for this, the dough won't bunch up as much when cutting.
- Take your first triangle, and make a small cut between the top 2 points of the triangle, and stretch out the sides.

- Roll the dough up from this side, stretching out the tip slightly to elongate the roll.
- Place the tip on the bottom of the rolled dough, and attach the two ends to each other to create a weird circle.

Look at these little cuties!!! - Let the little croissant prove while you complete the rest of the rolls. Place somewhere warmish to prove.
- Place on a well greased tray in oven at 160C for around 15-20 mins depending on your oven. Mine is not great, and not fan forced, nor is it gas :( so it kinda depends on how yours operates, but i prefer to cook mine for longer at a lower temp to make sure it cooks all the way through.

- While the little beauties are baking, place water and sugar in a saucepan over moderate heat. Dissolve the sugar, and let it simmer until it becomes like a watery syrup, then take off heat.
- Once the croissants are baked, take out of the oven and cool until they can be handled.

Waiting for the croissants was tedious for myself, and the cat. - Dip the top of the croissants in the glaze and let set - PLEASE NOTE that if you want these to be savoury croissant, e.g. with a yummy vegan queso or something in it (recipe soon!), then DON'T glaze!!!
- If you're not choosing to sugar glaze yours, brush them with some melted vegan margarine before baking. Et voila!
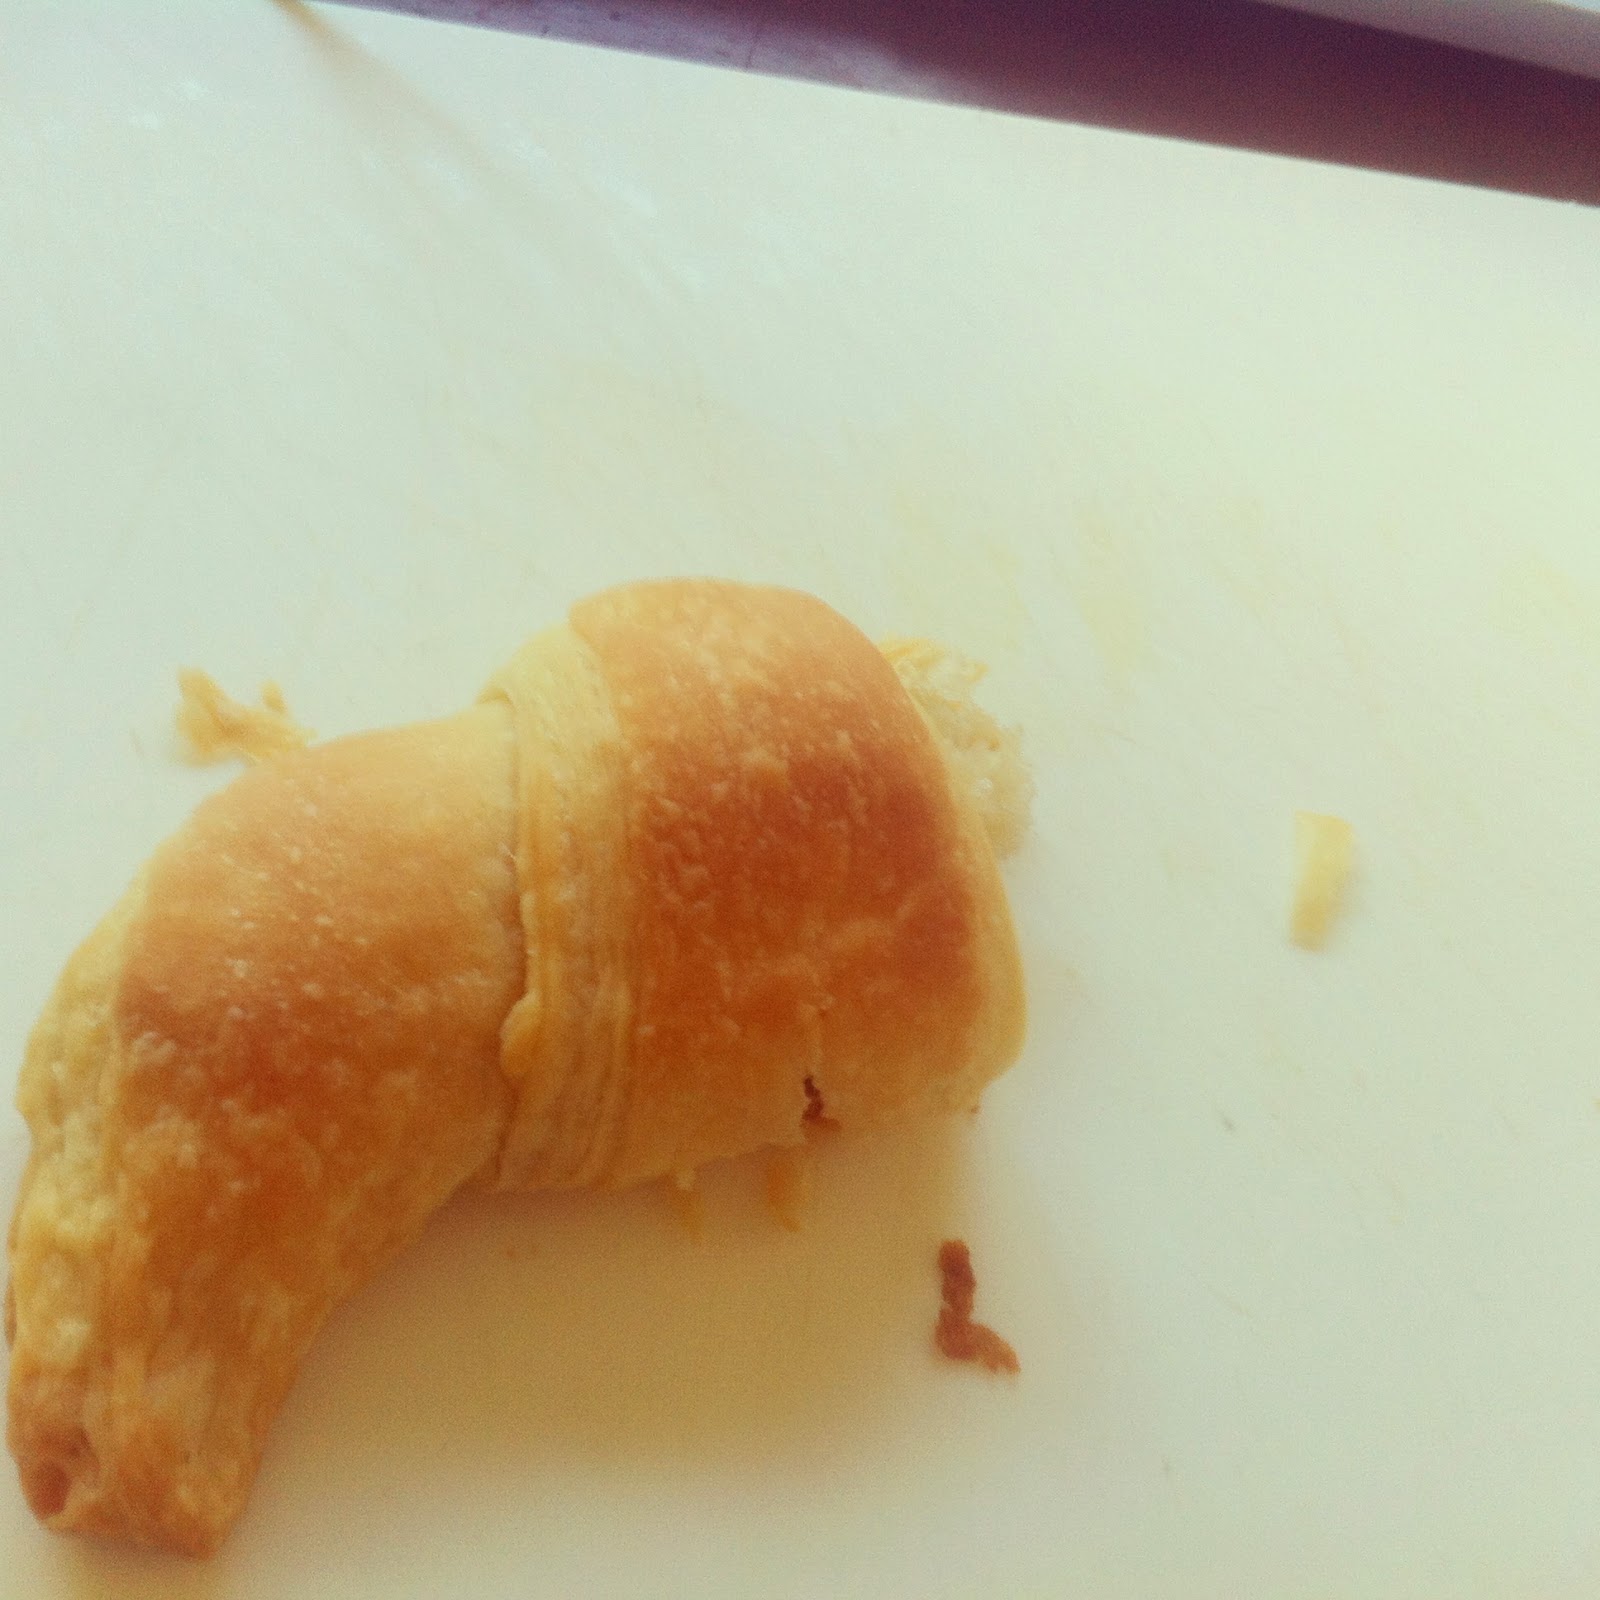 |
| Mmmmmm |
Ta Daaaa! Delicious VEGAN croissants for everyone to enjoy :)
Let me know how you go, and if you can think of anything I may have missed… xo
No comments:
Post a Comment